Raising a Helm
Inspired by the raising a helmet article on anvilfire.com this was my first attempt at hot raising. Some
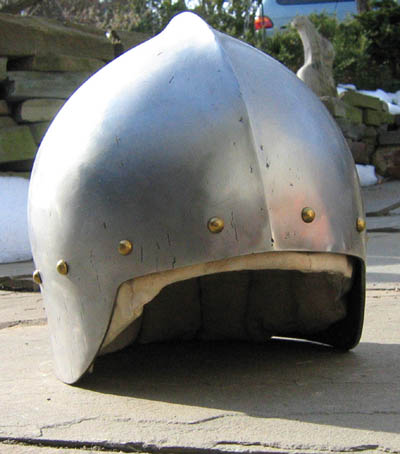
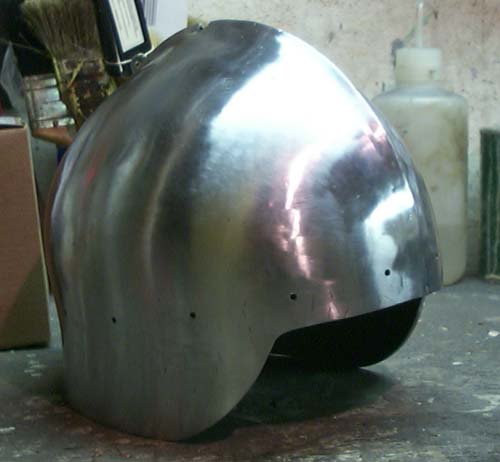
of the problems with the result are apparent. On the side and back
views small vertical
lines are visible. They aren’t cracks more like creases from
working the metal in to quickly and allowing ripples to
form in the
edge as mentioned below. Some small marks that were too deep to grind
out are also visible. This is particularly bad on the back which was
thinned by over heating in forging so I didn’t
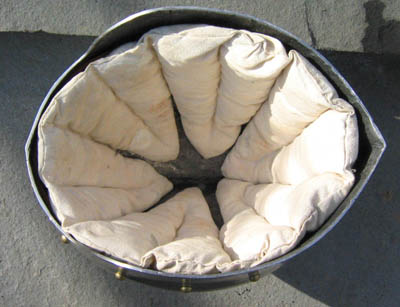
do much sanding. The helmet has a traditional lining sewn to a leather
band. Below are steps in construction
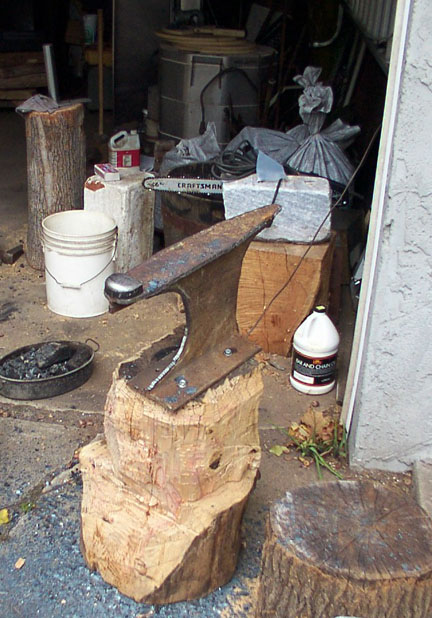
The anvil I have been using was cut from
a piece of I beam by a nice man with a plasma cutter. An auto body anvil is
bolted to it to form the face.
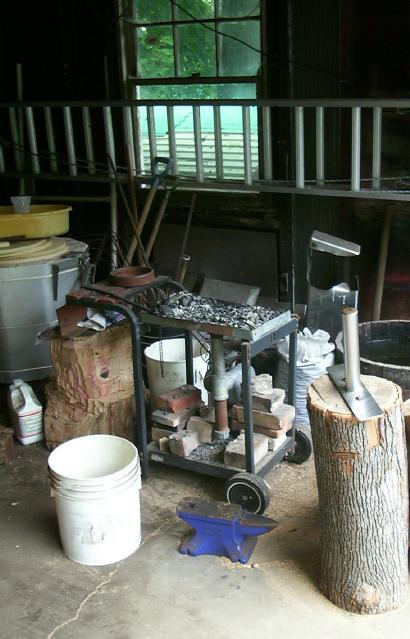
A home made coal forge was used as a heat source, the bed of coals in the forge as shown was to shallow ~2" to get
enough heat ~4" worked better.
Above is the result of a couple
sessions at
the forge. Its not very pretty I havent been careful to keep things
regular The starting blank was 18" diameter and 1/8" thick. I
found a stack of round steel plates that size on the street in
Manhattan one day so thats what I used.
This is after a few more sessions. I
am using vice grips since I had a hard time holding on with tongs. Im
using this hammer (a heavy straight peen with a blunt blade) because I
dont have a heavy raising hammer, seems to work fine. I should be more
careful
about working out the ripples in the edge before they get as sharp as
some of those seen here.
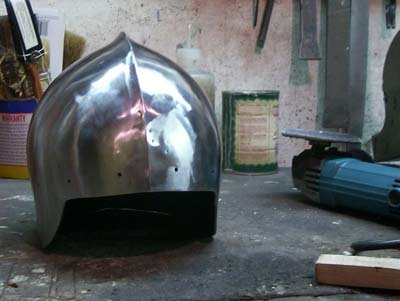
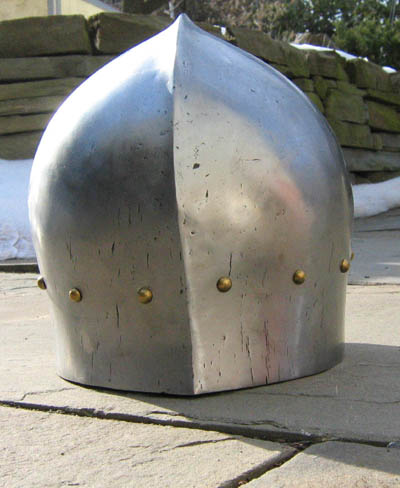
I have skipped forward a bit. Here
are some pictures of the helmet after medium sanding. After doing a bit
of raising I cut out an arc from the blank to form the front. This
made shaping the front easier. The crest was the hardest part. I should
have
waited till the final form was reached to put in the crest. Working the
helmet after putting in the crest ridge caused some cracking along the
ridge which had to be welded. I used a combination of a chisel shaped
stake hammering from the outside, a sharp hammer from the inside, and
the square edge of the anvil to form the ridge. A ball stake was
used to refine
the shape. I did rough smoothing hot but most planishing cold on the
anvil and ball stake.
Around the bottom edge which is thickest from being compressed I rough
ground a bit with a angle grinder the rest was only sanded with a flap
wheel on the angle grinder. Can also see the holes for mounting the
lining. Overall not bad but should have been more careful.
main index